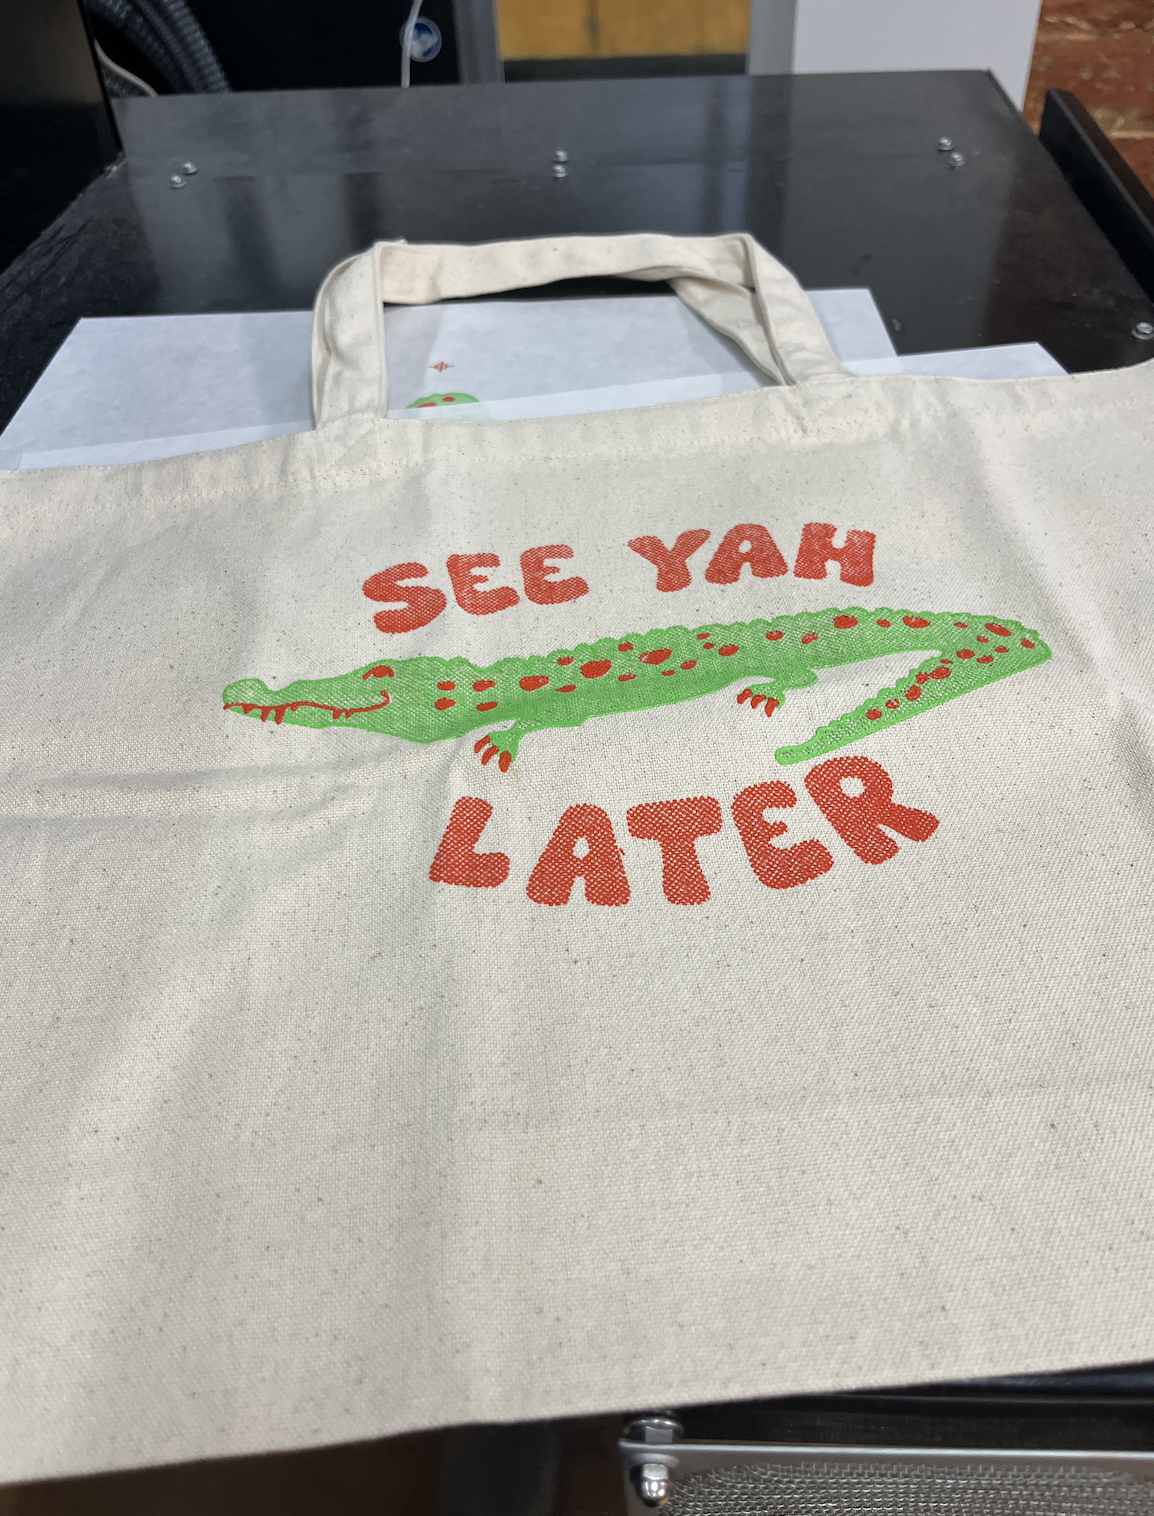
Screen Printed Bag
This project shows the screen-printed bag I made in GC 1040/1041. For this project, I had to make a 2-color design and screen print the final design onto the material. I used Illustrator to make my design and then used dot gain to create different shades of the same color so it had a bit of depth. I also had to go through the process of prepping the screen, printing the negatives Getting the design onto the screen and adding the screens, lining everything up for the final version.
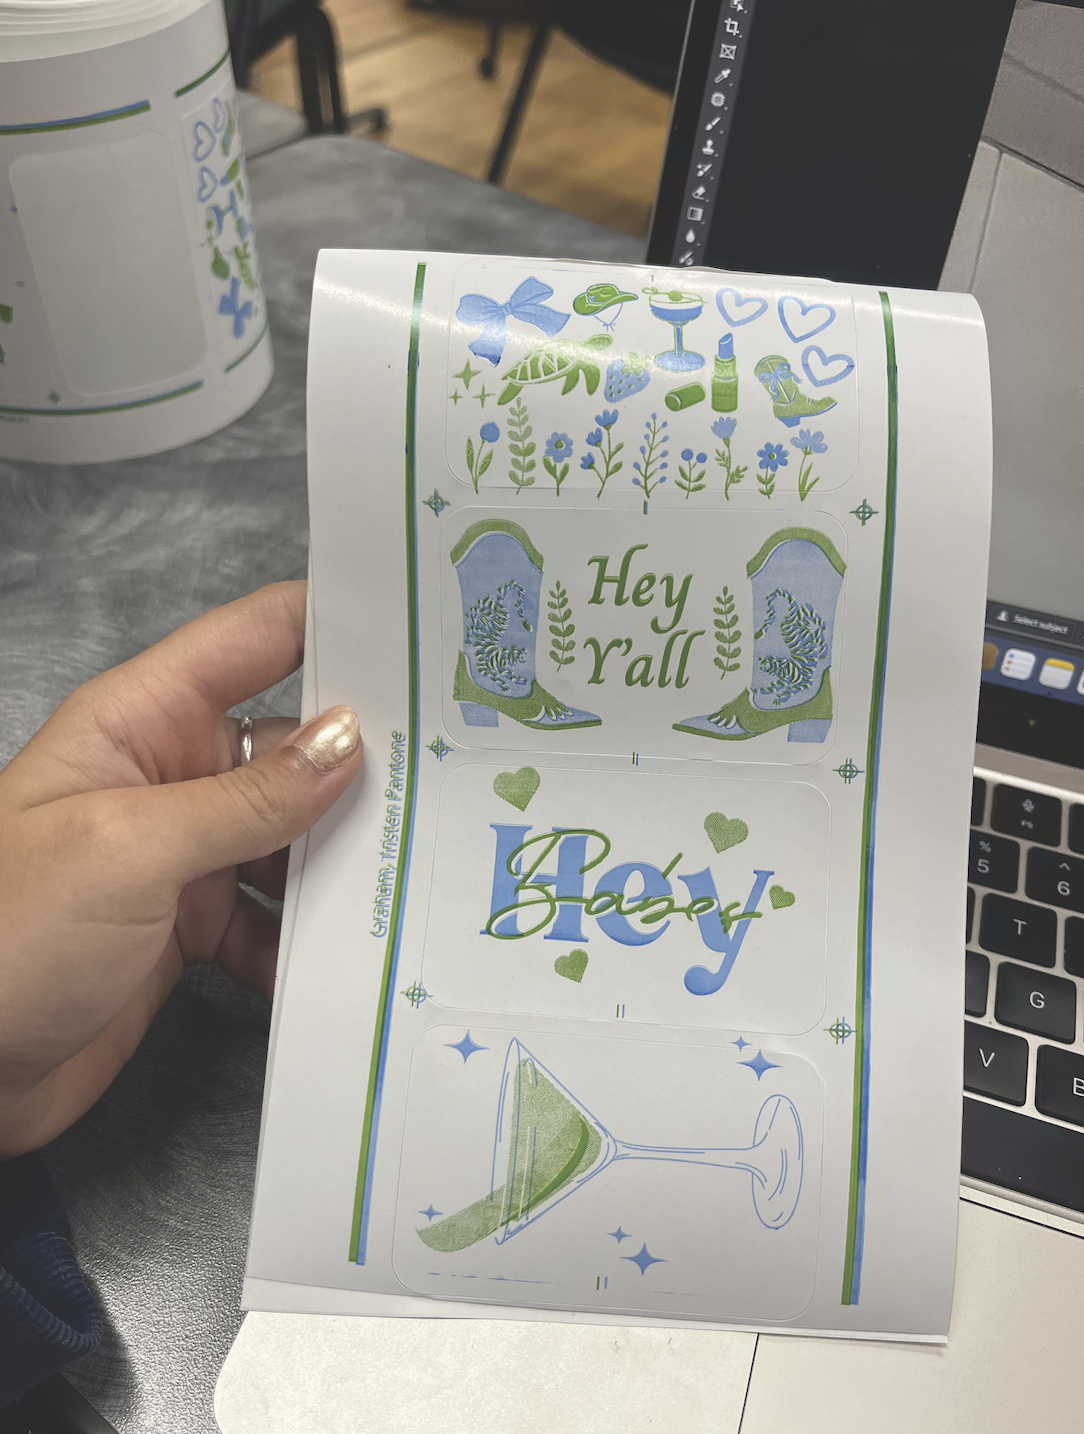
Flexography Stickers
This project shows a batch of 4 stickers that I made in GC 1040/1041. For this project, the point was to learn flexography and go through the steps of how to use the press for flexography and what it exactly is. For this flexography project, I made stickers with two 2-colors of ink. The process was very similar to screen printing with developing your design, printing the negatives, but instead of a screen, I had to use a photo emulsion plate and learn how to make a stencil with that.
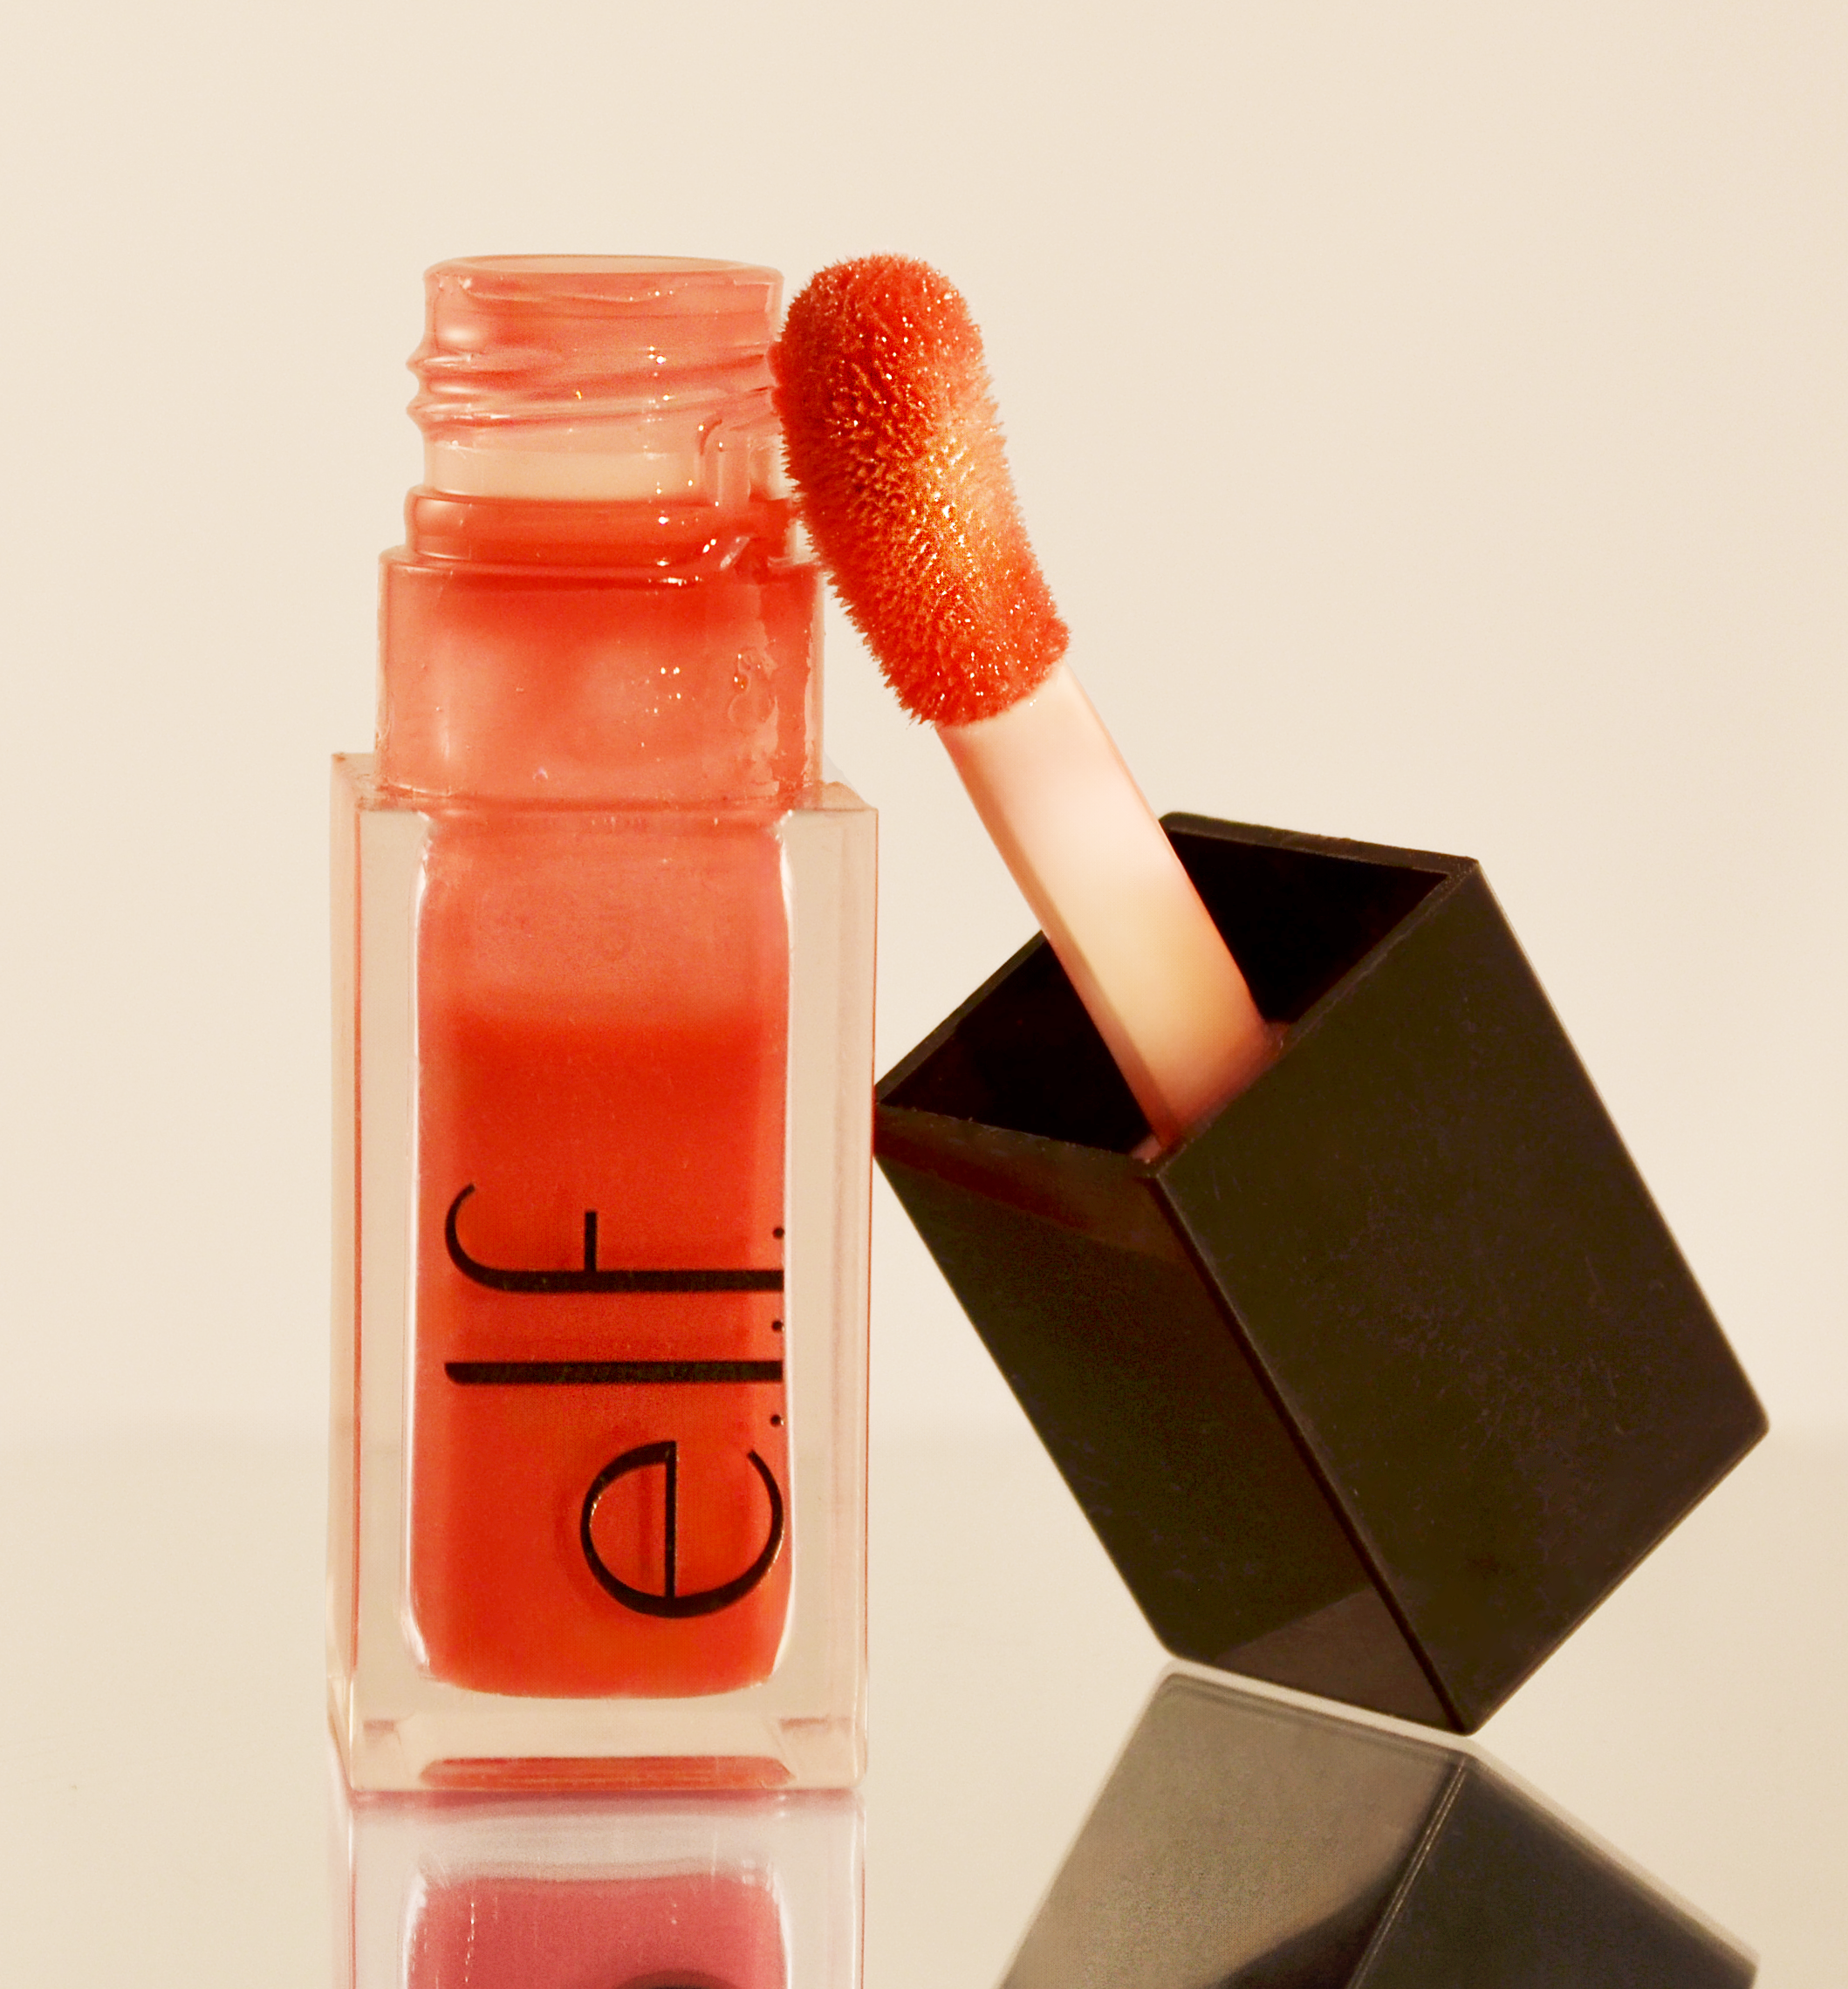
Product Photography
This was a product photo shoot I did in GC 3400/3401. For this project, I was required to bring in a product that I used or liked from my home, and do a photoshoot with this product. I chose the Elf lip oil from my purse to use for the shoot. For this project, I had to use my camera and lights and anything I thought would make it look like a product photoshoot. I had to set up the lighting and the product, I learned a lot about the camera for this and how to make the product look appealing through posing and editing. I learned more editing on Photoshop and Lightroom Clasic to make this picture look very professional,
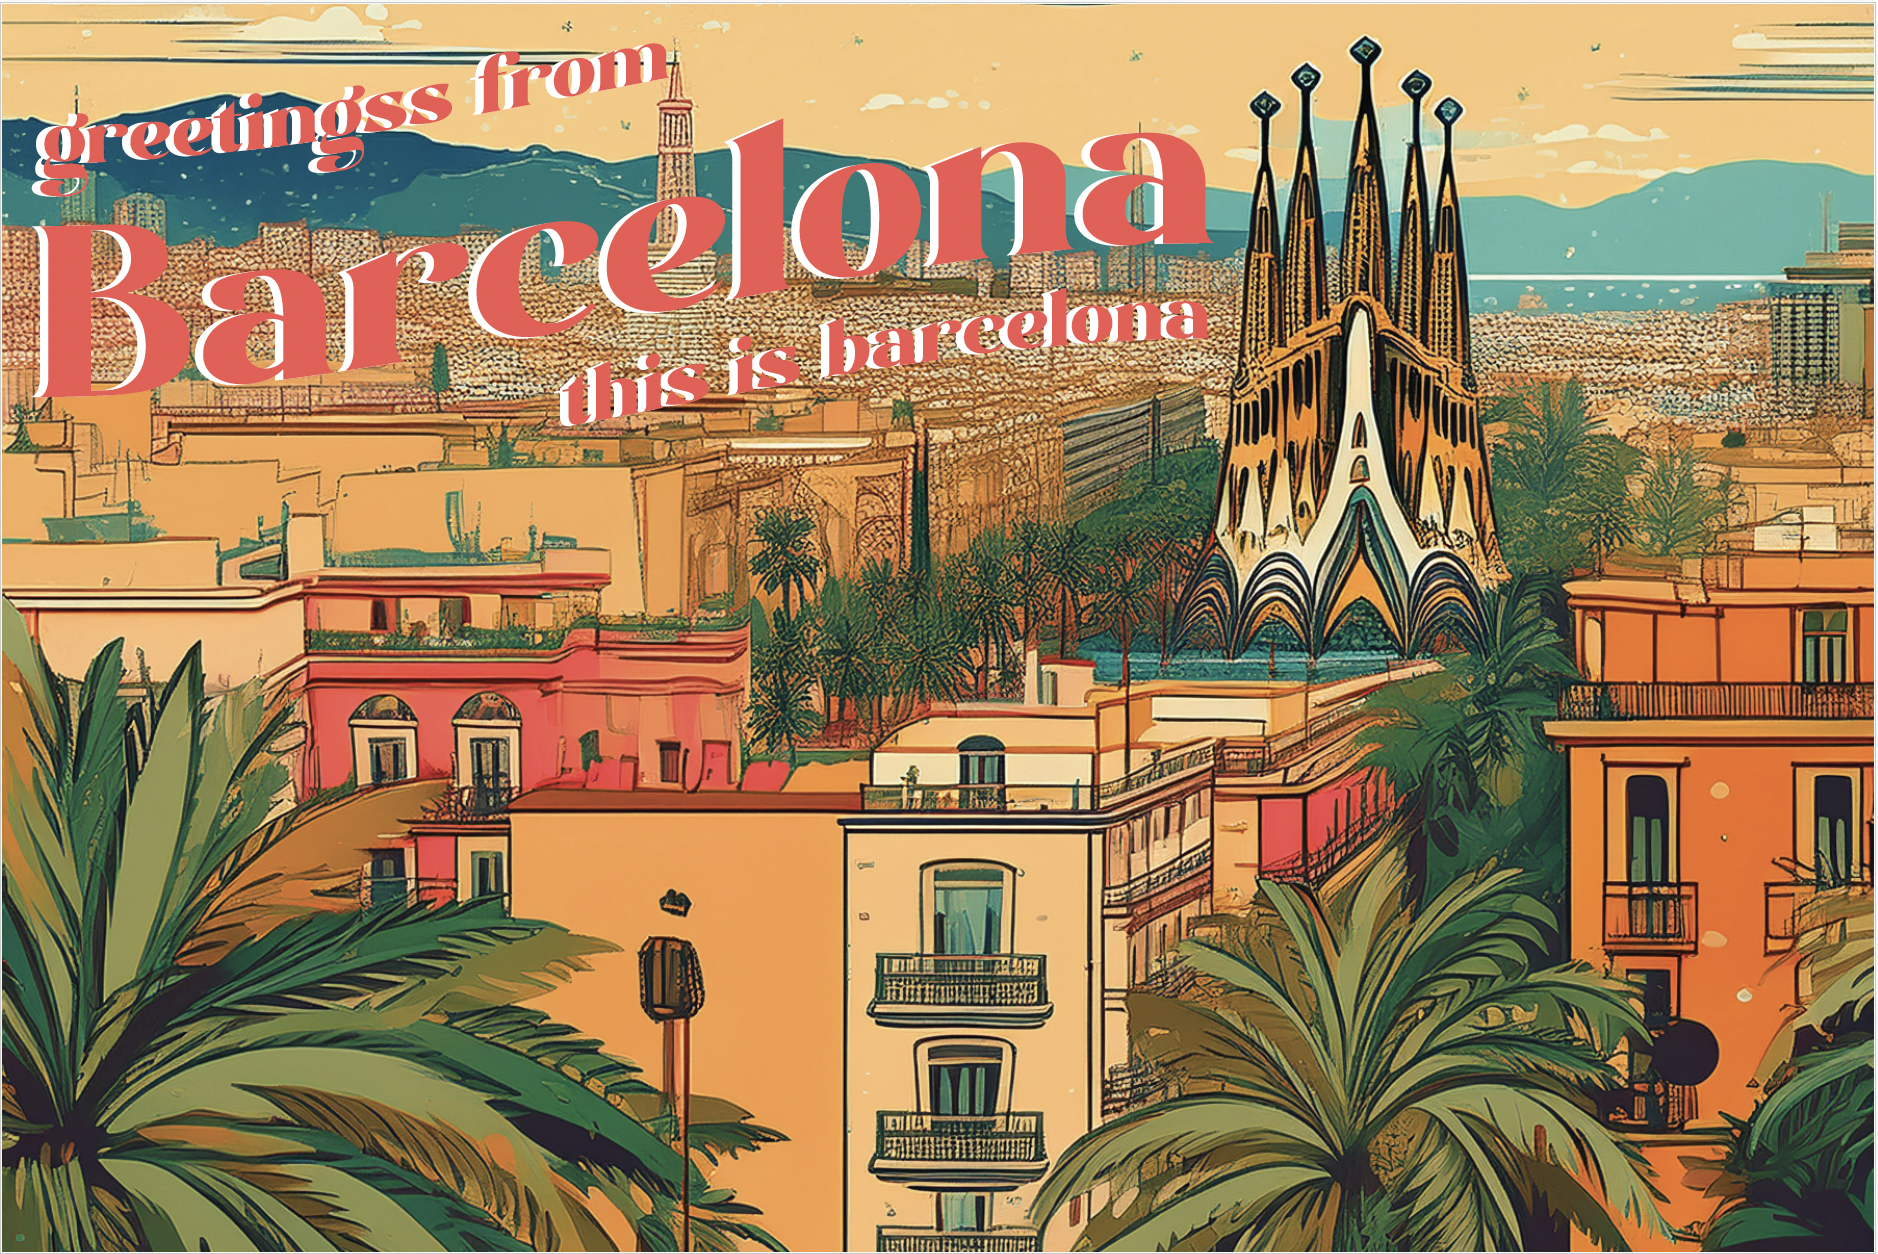
AI Postcard
This was a Postcard I made in GC 1050, but it was required that we use AI. For this project, we learned how to integrate and use AI as a tool for graphic design through this postcard. I chose Barcelona for this project, and the whole background/picture of this card had to be made by AI in Illustrator, and we had to add text to really make it a postcard. I learned how to use AI as a tool for design work for this project and how AI can be used in the future.
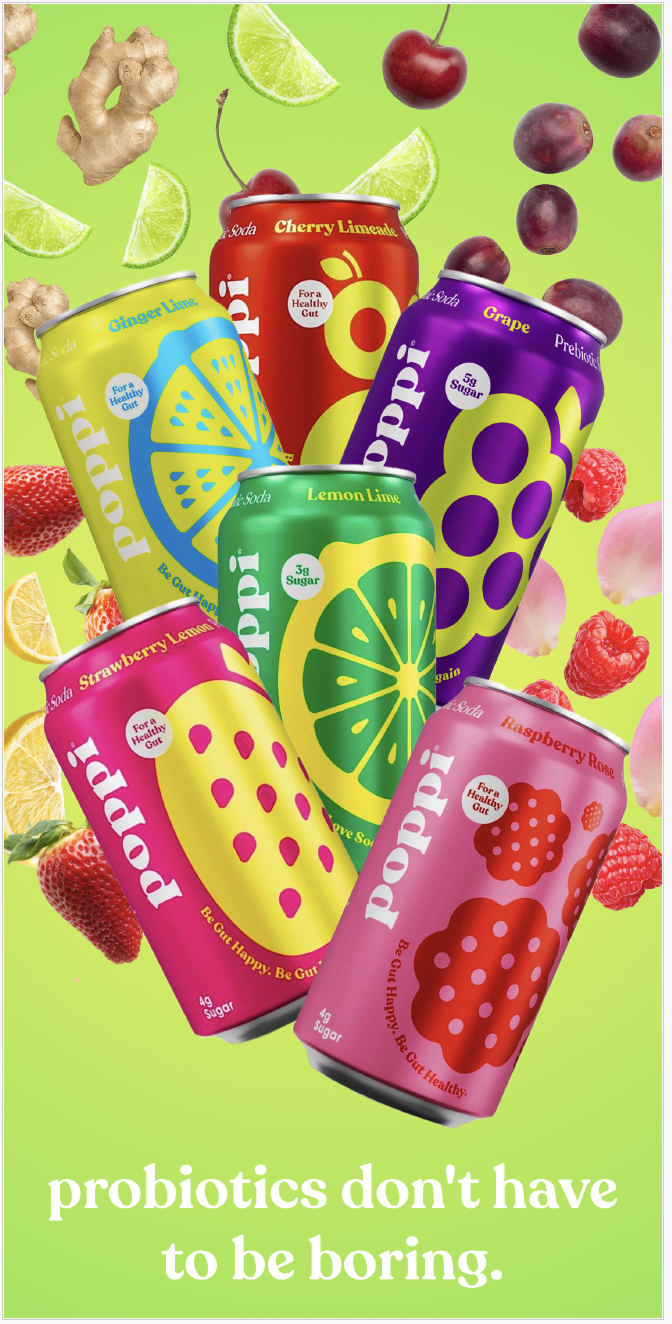
Ad Remake
This was an ad remake I made for GC 1020. For this project, the assignment was to research an ad and remake it to make it look more appealing. For this, I chose a pop-up ad I saw while scrolling through pictures. I took different cans and layered them using Photoshop to edit some of the cans to make them a bit brighter and to layer them correctly, and to add the gradient background, along with the text. I also looked at the flavors of the sodas and downloaded free pictures of the fruits/veggies that the can flavors were based on, and added that behind the can it corresponded with to make the overall ad more visually appealing.
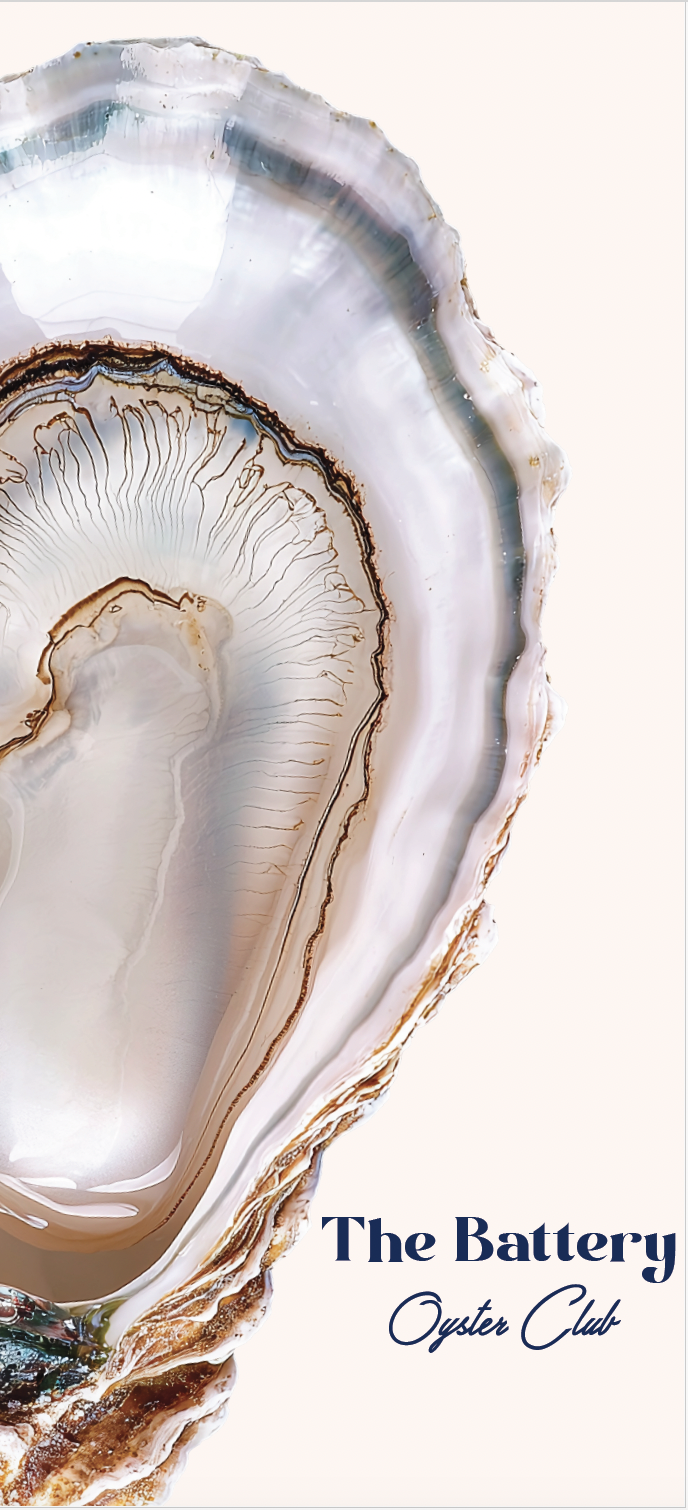
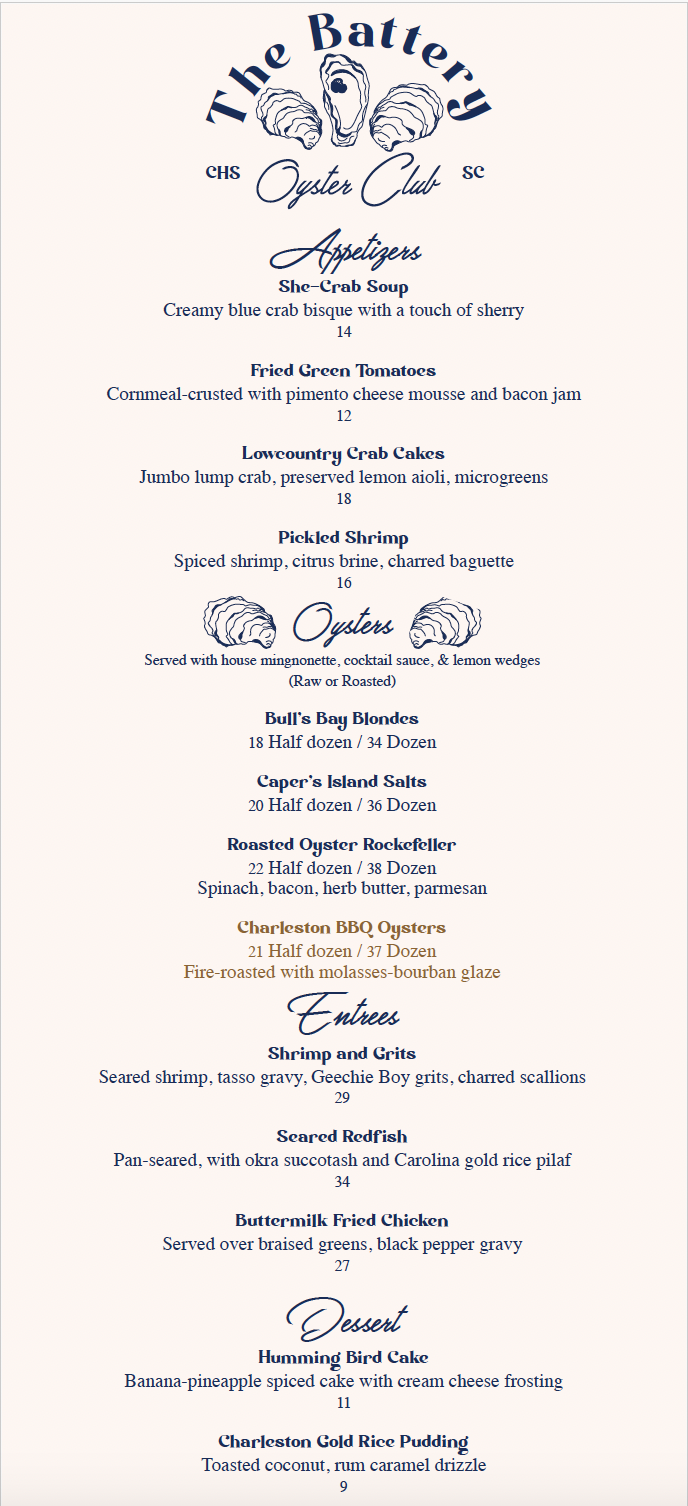
Menu
This was a GC 1050 Project I created, and for this project, I had to design a menu to accompany a fictional restaurant concept I also developed. For this project I had to work with Illustrator, Photoshop, and InDesign. I had to make a fictional restaurant idea and create the logo, and from the logo I developed the type of atmosphere I wanted to have for this restaurant, which included color, typography and what the menu would hold. This menu was heavily influenced by where I'm from, Charleston, so I did research on upscale dining at home and how big their menu was and the colors and typography and even the design and layout of menus and restaurants at home, but I put my own spin on it.
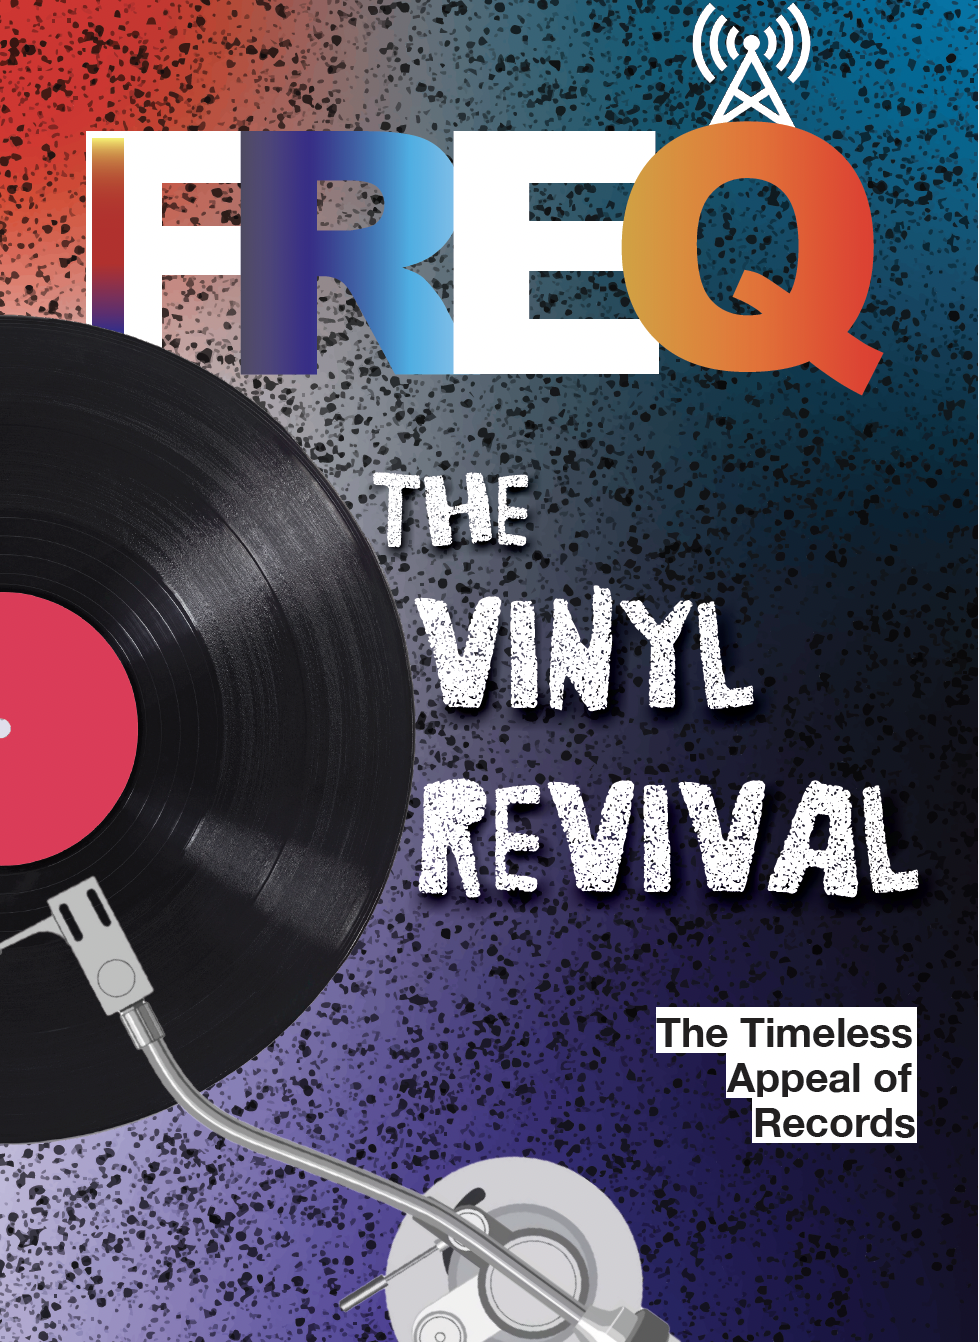
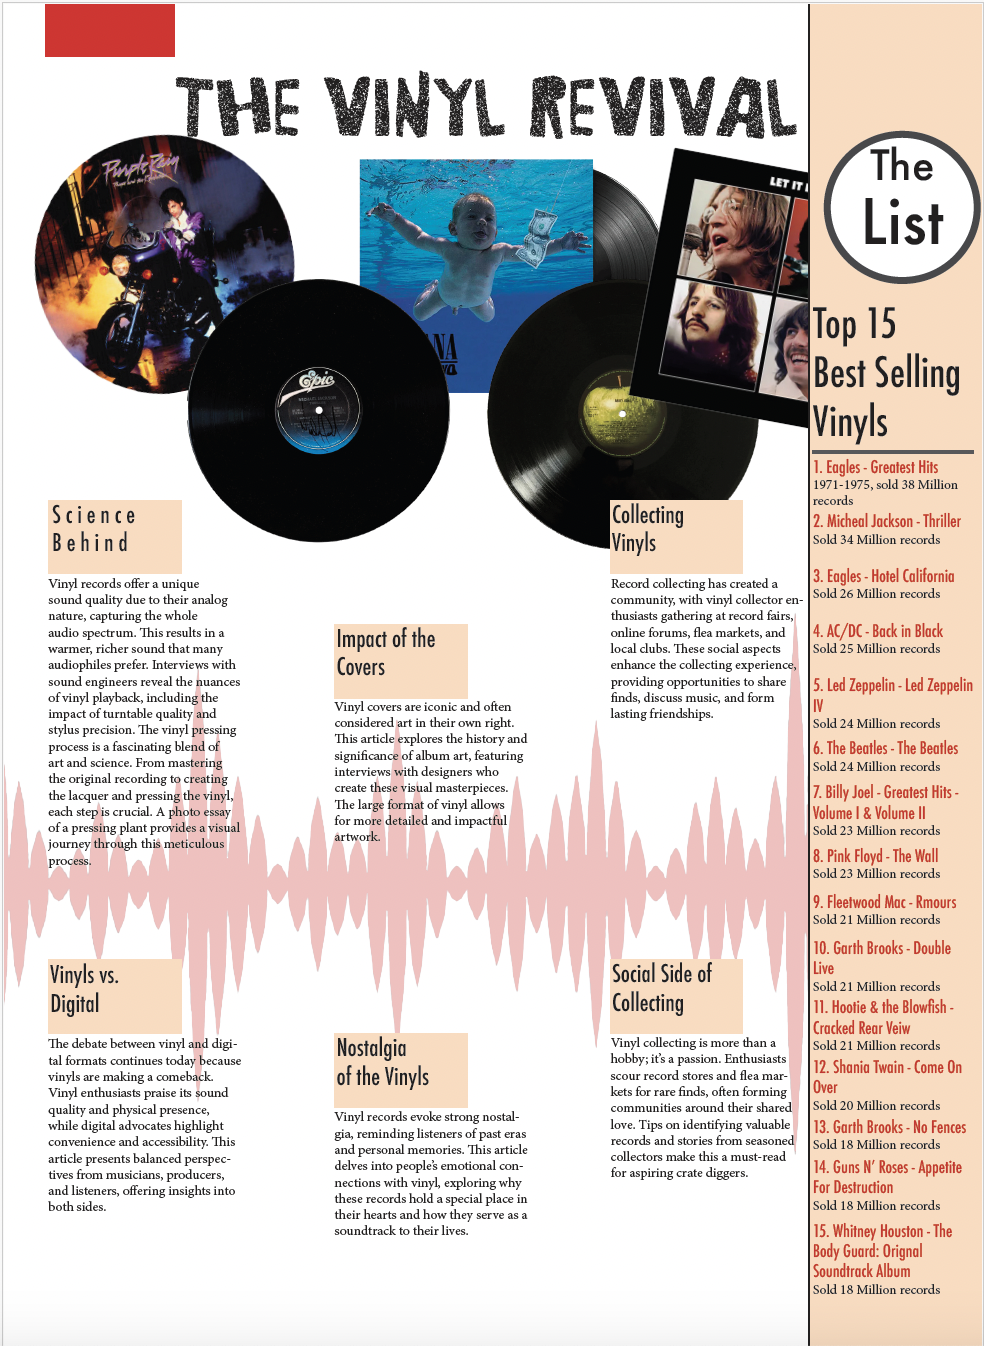
Project Title
This was a GC 1050 Project I created, for which I designed a magazine cover, article, and layout. For this project, I worked with Illustrator, Photoshop, and InDesign. The concept for the magazine is based on the Rolling Stones magazines and other music-based magazines. I chose a music-themed magazine because I love music, and it has impacted my life in a big way. For this project, I had to develop and design the cover and the layout of the article using photos from the internet of albums and records. For the cover of the magazine, I used two free graphics, the record and the arm of the record player and everything else was made by me, the same with the article on the inside. Besides the albums.
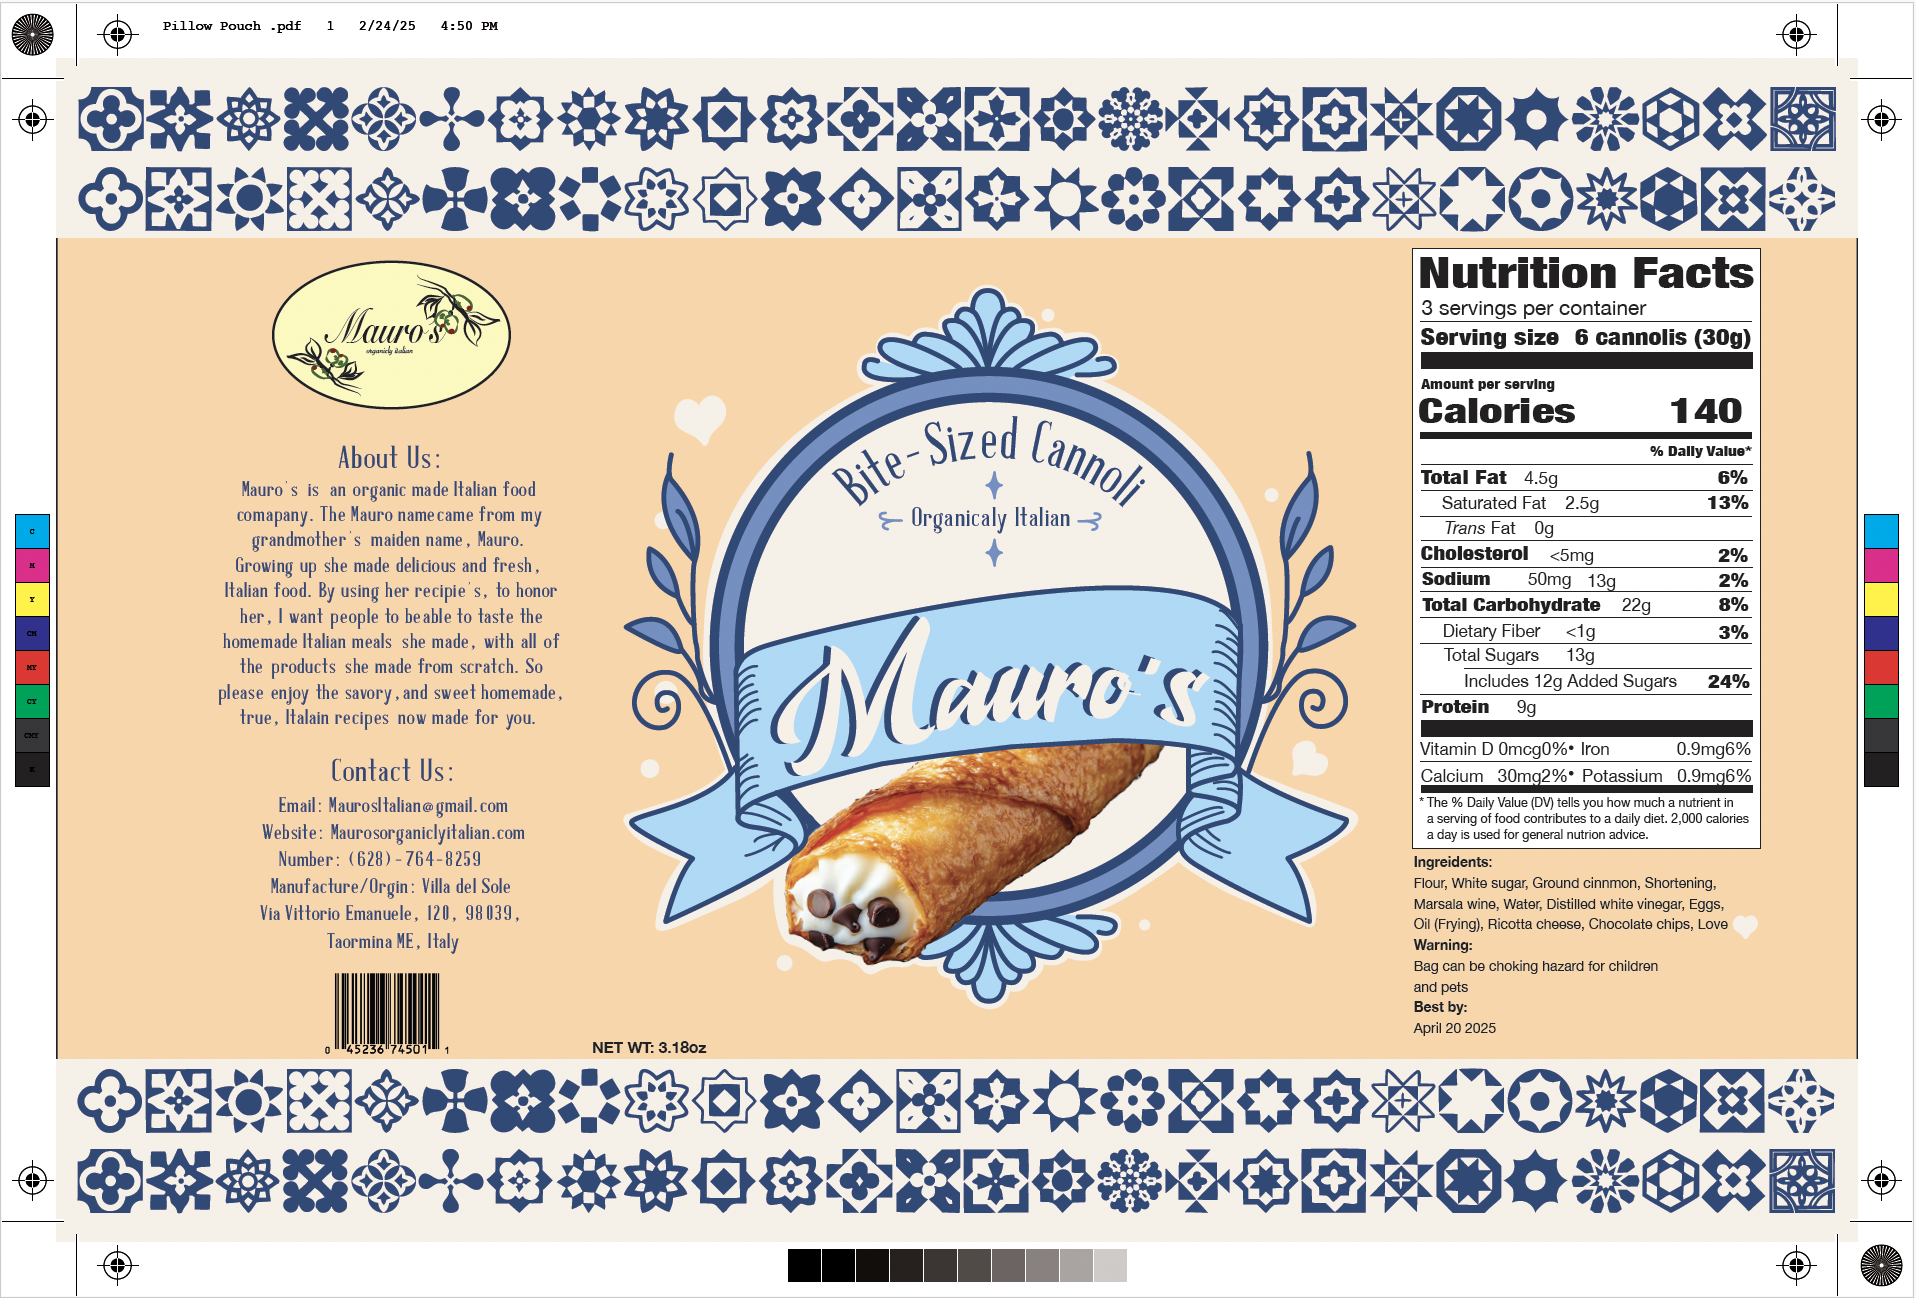
Snack Bag
This was a GC 1050 Project I created. For this project, I created a snack bag for my brand. For this, I had made a brand earlier on in the Semester and had to create a product/snack for this brand and a corresponding package. The brand I created was an Italian food brand, and I used my grandmother's maiden name for it. for the bag I wanted it to be styled like it seemed healthy and more organic, but still eye-catching. I took a lot of inspiration from Italian tile designs and art. I also took inspo from Trader Joe's packages are fun to look at. I used an image of a cannoli, but made everything else on the package, from the design to the nutrition label. For this project, we also had to print and assemble the bags.
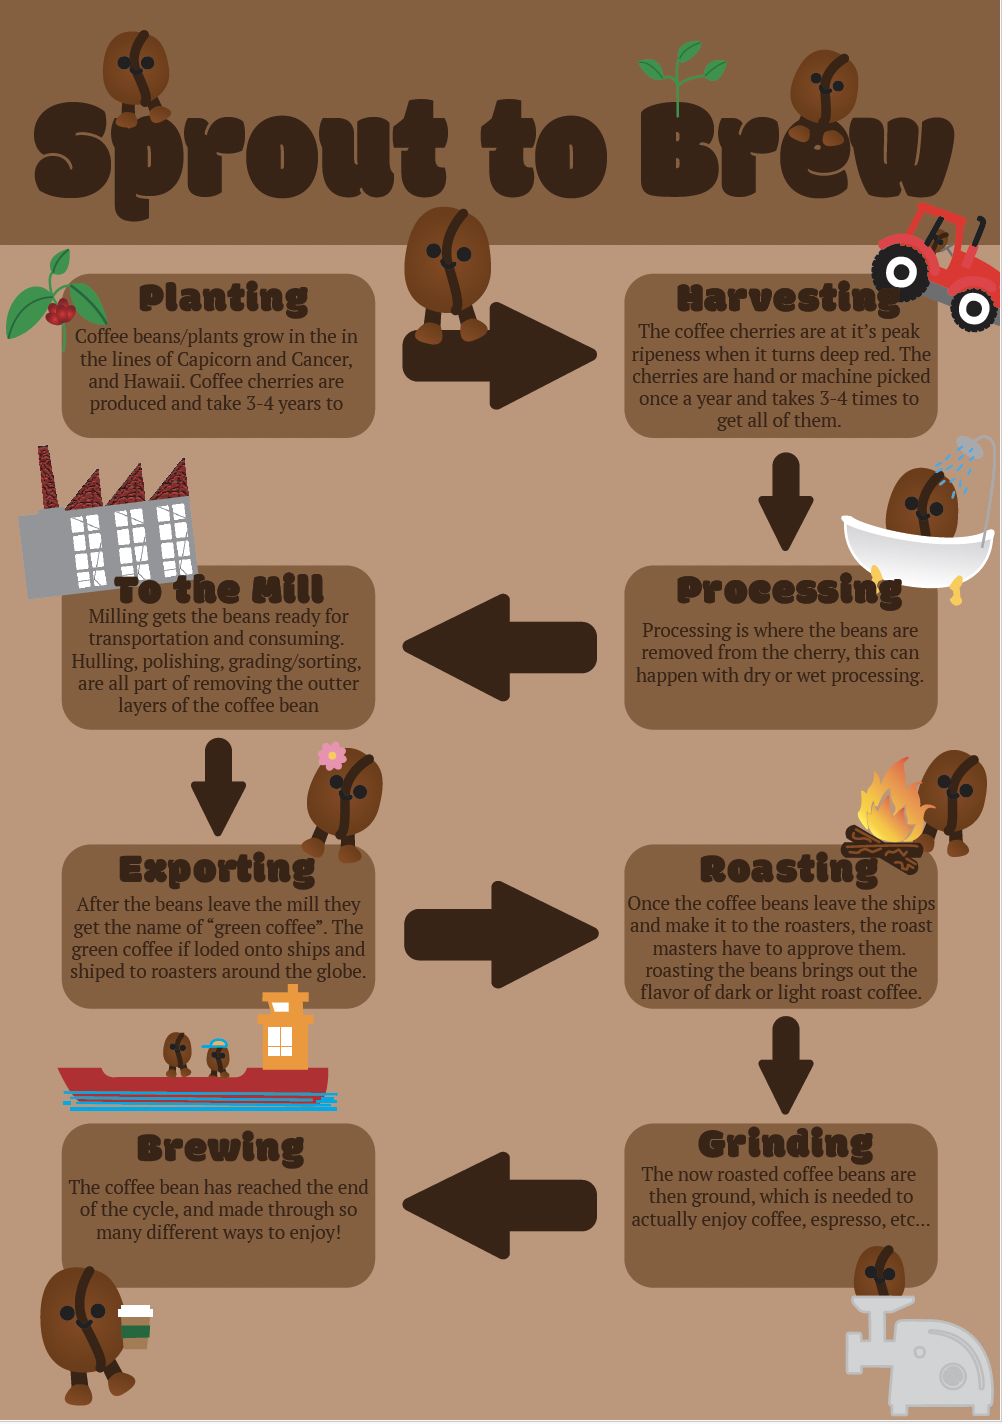
Infographic
This was a GC 1020 Project I created. For this project, I created an infographic on the life of a coffee bean, from seed to the coffee in your cup. For this project, I conducted research on the life cycle of a coffee bean, from its origin as a seed to its eventual consumption. After researching, I identified the key points of a bean becoming coffee and outlined how I wanted this infographic to flow. Along with that, I made a coffee bean graphic to show what was happening in each phase as a visual, too. For this project, I used Illustrator and InDesign.

Tiger Poster
This was a GC 2070/2071 Project I created. I made a poster, but I was already given the tiger and the saying that was to be used on the poster. This project was considered a design challenge because we had to position the tiger on the poster and figure out how we wanted to place the phrase and the appropriate typography to use.
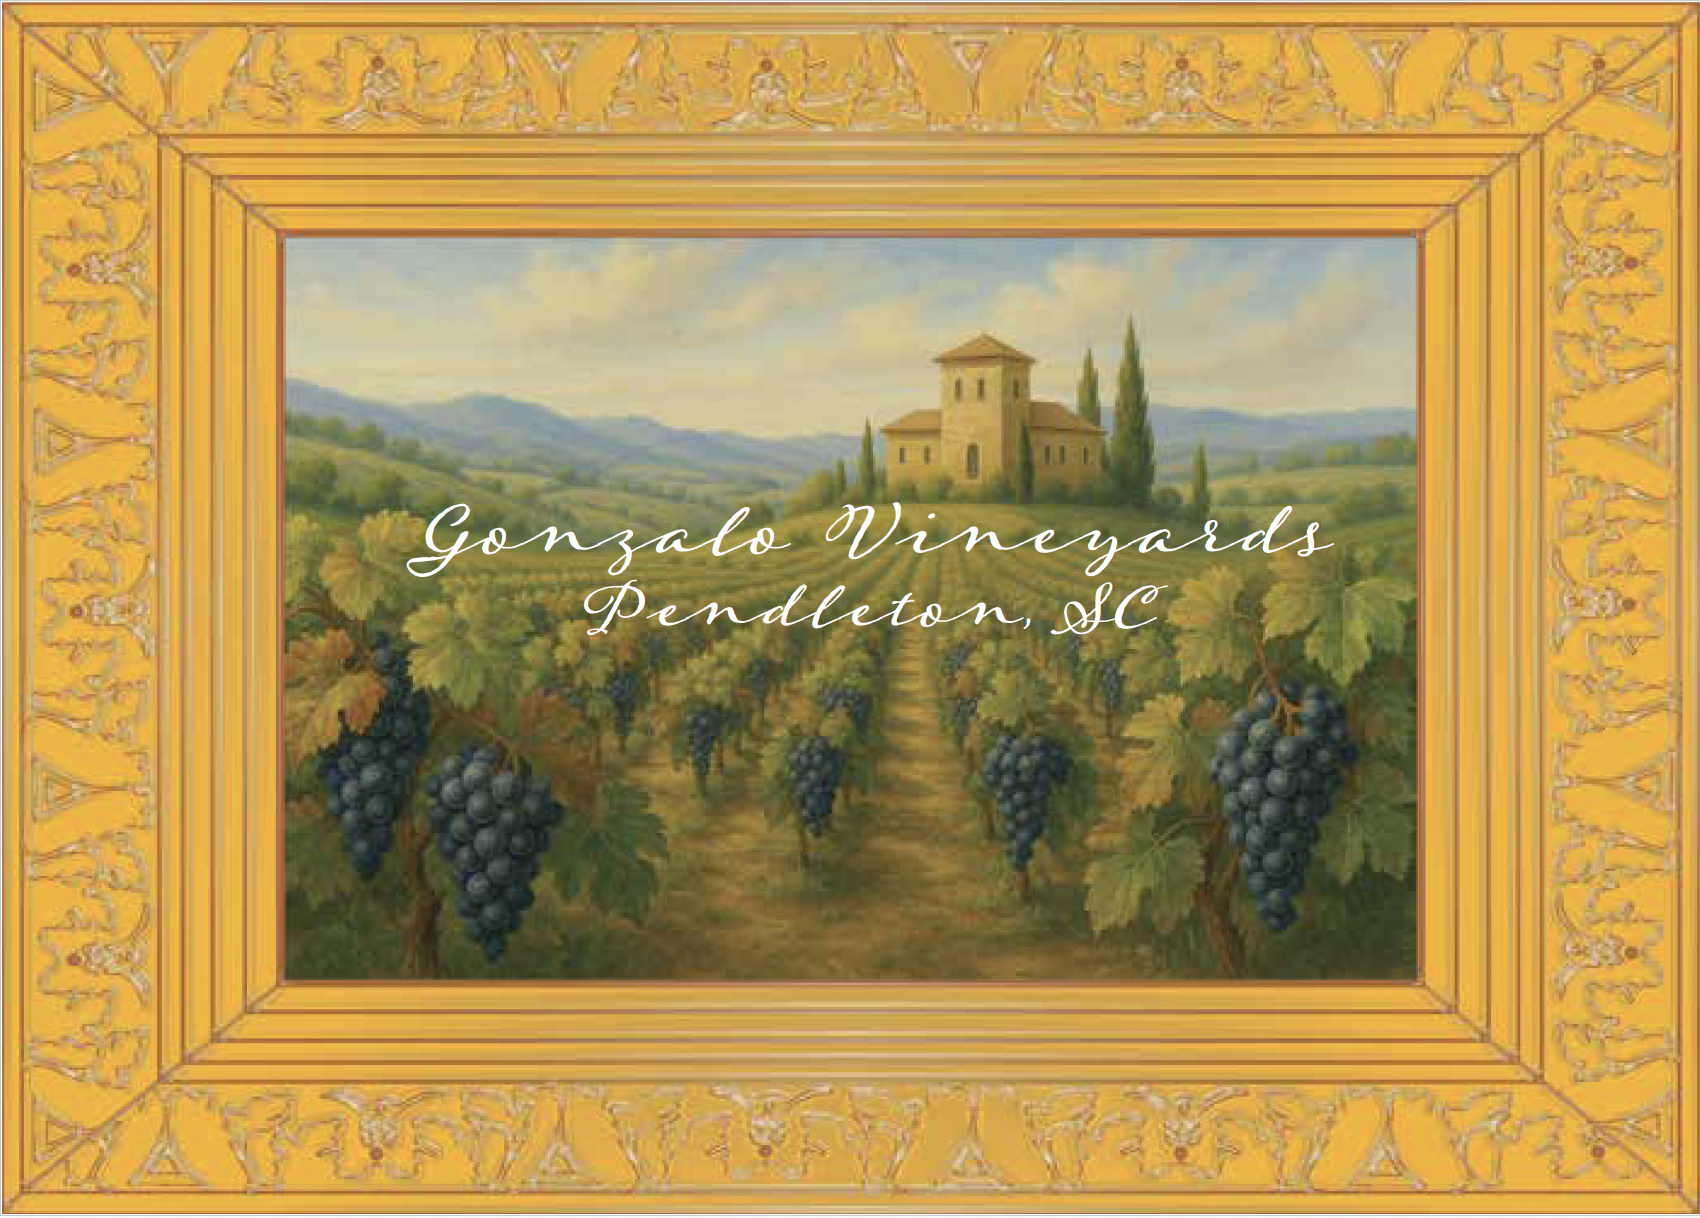
Wine Label
This was a GC 1050 Project I created, as well as another design challenge I undertook. For this design challenge/project, I was given the image of the winery, and I had to make a wine label from it. When looking at this image, I noticed that it was an Italian vineyard with the style of a house and just the background. Drawing inspiration from that helped me choose the typography to use, which was a fine cursive font. When I added the type, it looked good, but felt like it was missing something. When I walk around in the grocery store and pass the wine aisle, the designs are always too beautiful and stand out to me, so I decided to add a border. Not just any border but a golden frame to match The picture, which looked like it had been painted, so I wanted to frame it, and with that, it felt complete. I also had to print this out and use a color separator for CMYK and learn how to calculate the color gamut.
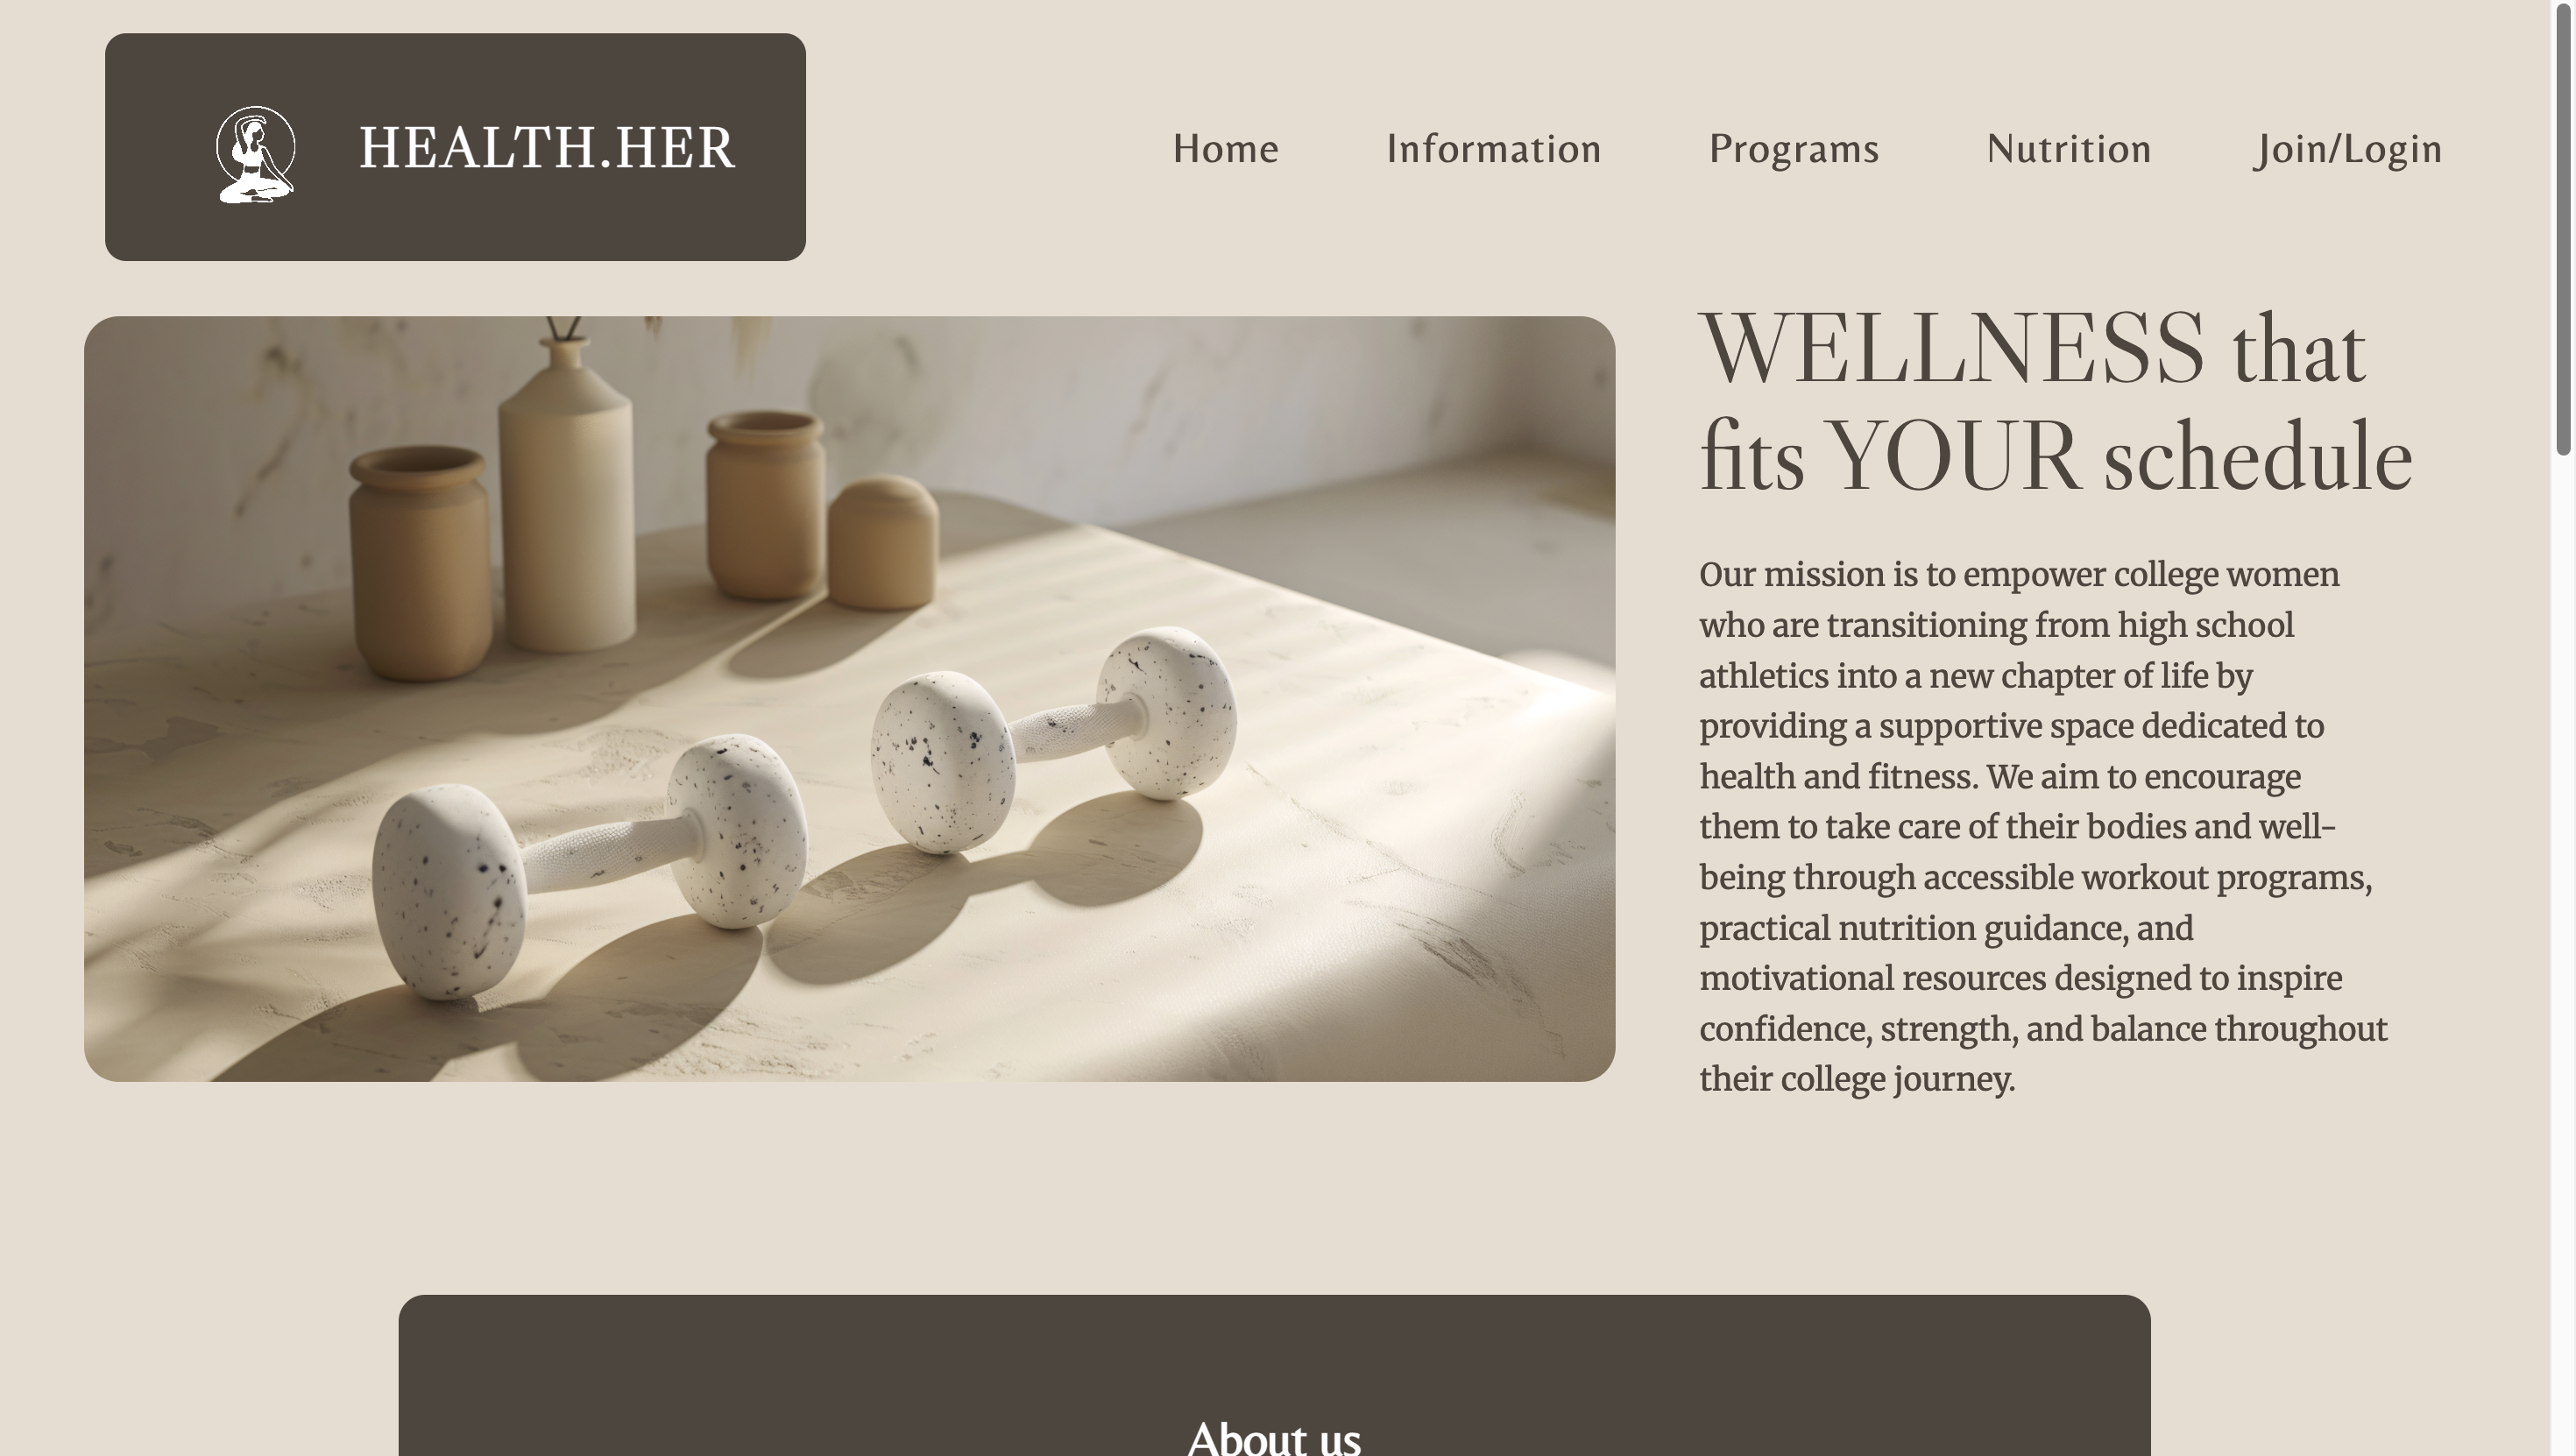
Client Website
Another detailed project description goes here. Talk about colors, typography, production requirements, or design challenges you solved. This was a GC 2400/2401 Project I created. For this project, I was given a client (a student in my class), and I had to develop a website for her. She gave me an idea for the website, and I learned to code HTML and CSS files to create this webpage for her. In this project, I had weekly check-ins with my client to show her progress and see what she liked and disliked, and what I needed to change and keep. This project has been by far my favorite to develop and make because I like coding websites and problem-solving solving and just how hands-on it truly is. Website link
Music Video Remix
This was a GC 3400/3401 Project I created. In this project, I took a song I liked and had to develop a music video from it with stock videos. For this music video, I chose the song and then had to develop a plot for the song. After figuring out he story I wanted to tell, I then had to find stock footage to use and download for the video. I edited the whole video and learned how to use Adobe Premiere. I learned how to add effects, make cuts, edit sound, and even edit the videos themselves.
Interview
This was a GC 3400/3401 Project I created. This was a group project where my group and I had to conduct an interview with someone. We had to learn how to shoot with a camera and set up the audio and mics, along with the shutter speed and frames per second. First, we had to figure out who we were interviewing, then create the questions, then set up, film, edit the video, and then the audio. For this project, I was the video editor. I learned how to create multi-camera sequence shots by combining the two video files from the two cameras. I also learned how to edit and cut an interview, and add b-roll footage where needed, for this video.